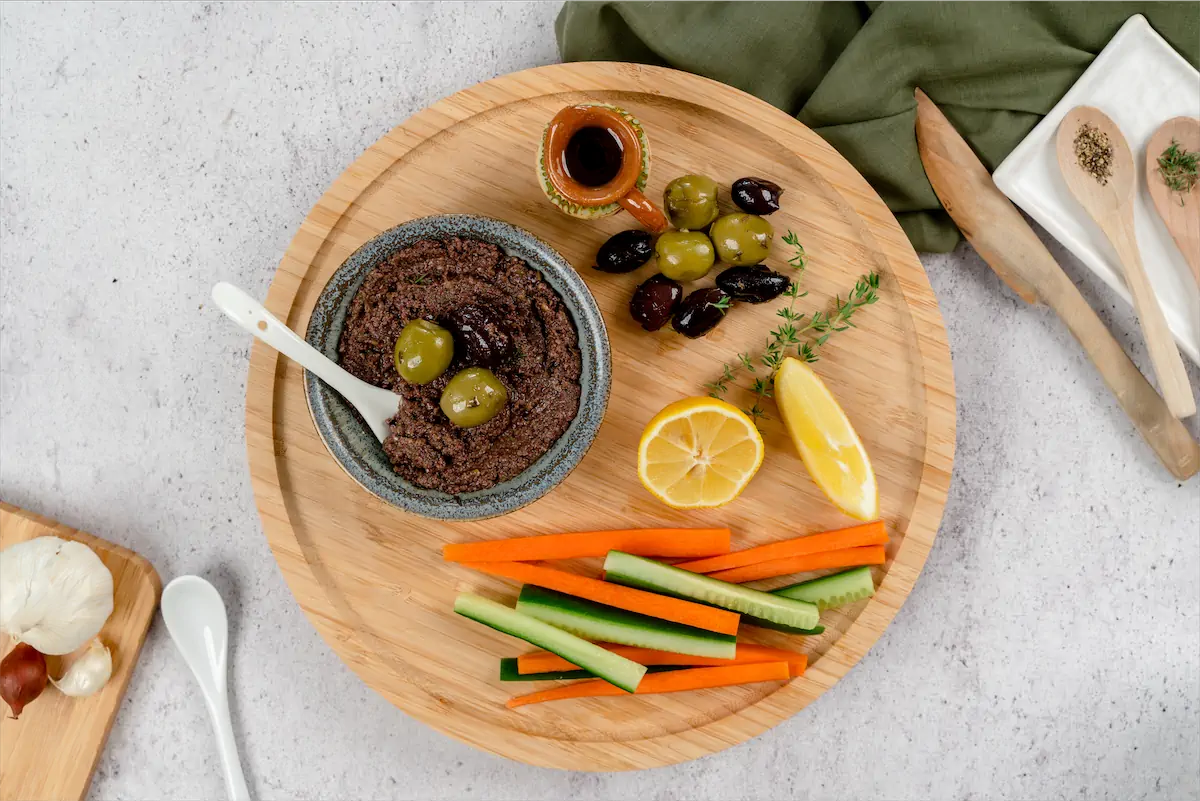
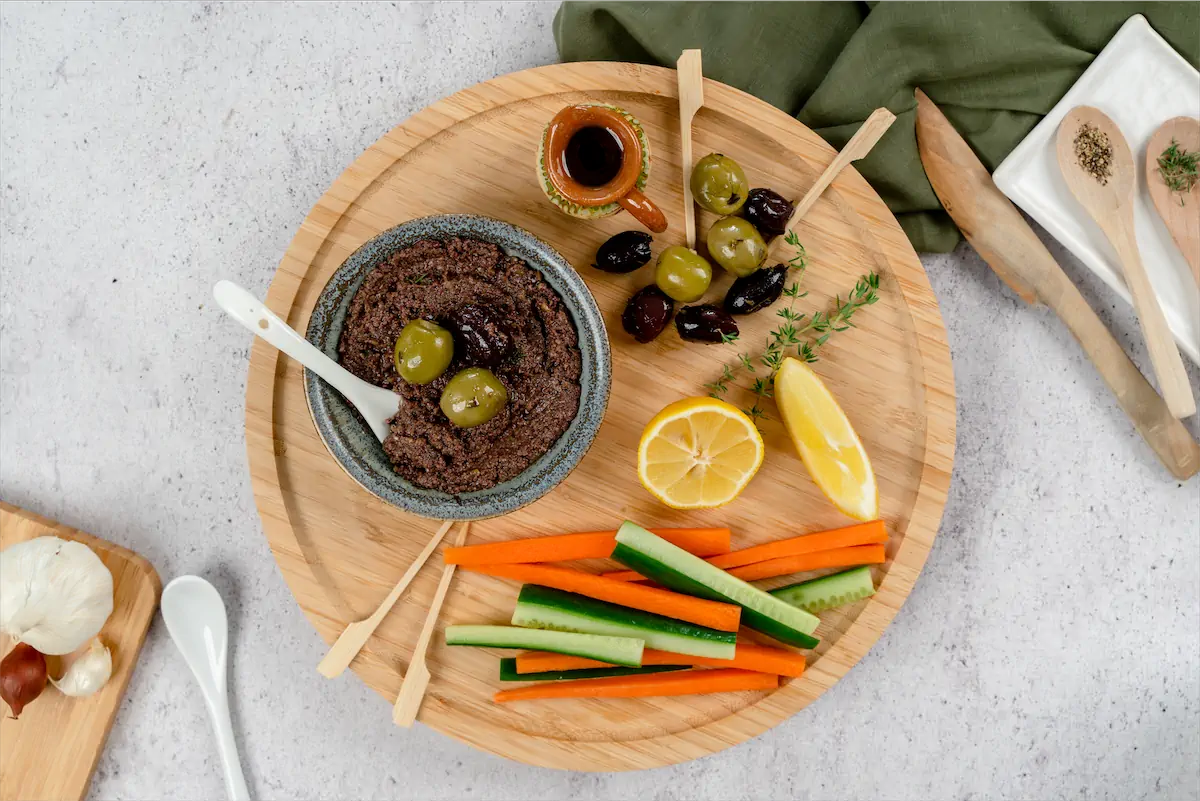
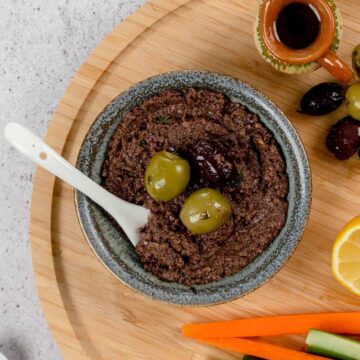
Say hello to our Classic Keto Olive Tapenade spread, the flavor bomb sure to win your taste buds! It's made of this divine mix of black and green olives, capers, and herbs. Instant flavor heaven, right? And the cherry on top? It's a cinch to whip up and super versatile. Slap it on your sandwich, jazz up your appetizers, or top your grilled chicken or fish for a taste sensation.
Jump to:
- Preparation and cooking overview
- Chef's note
- Ingredients for this classic olive tapenade recipe
- Ingredient substitutions
- Additional ingredients
- Cooking tools required
- Tool substitutes list
- How to make Classic Olive Tapenade: step-by-step guide
- Cooking methods
- Preparation steps
- Cooking instructions
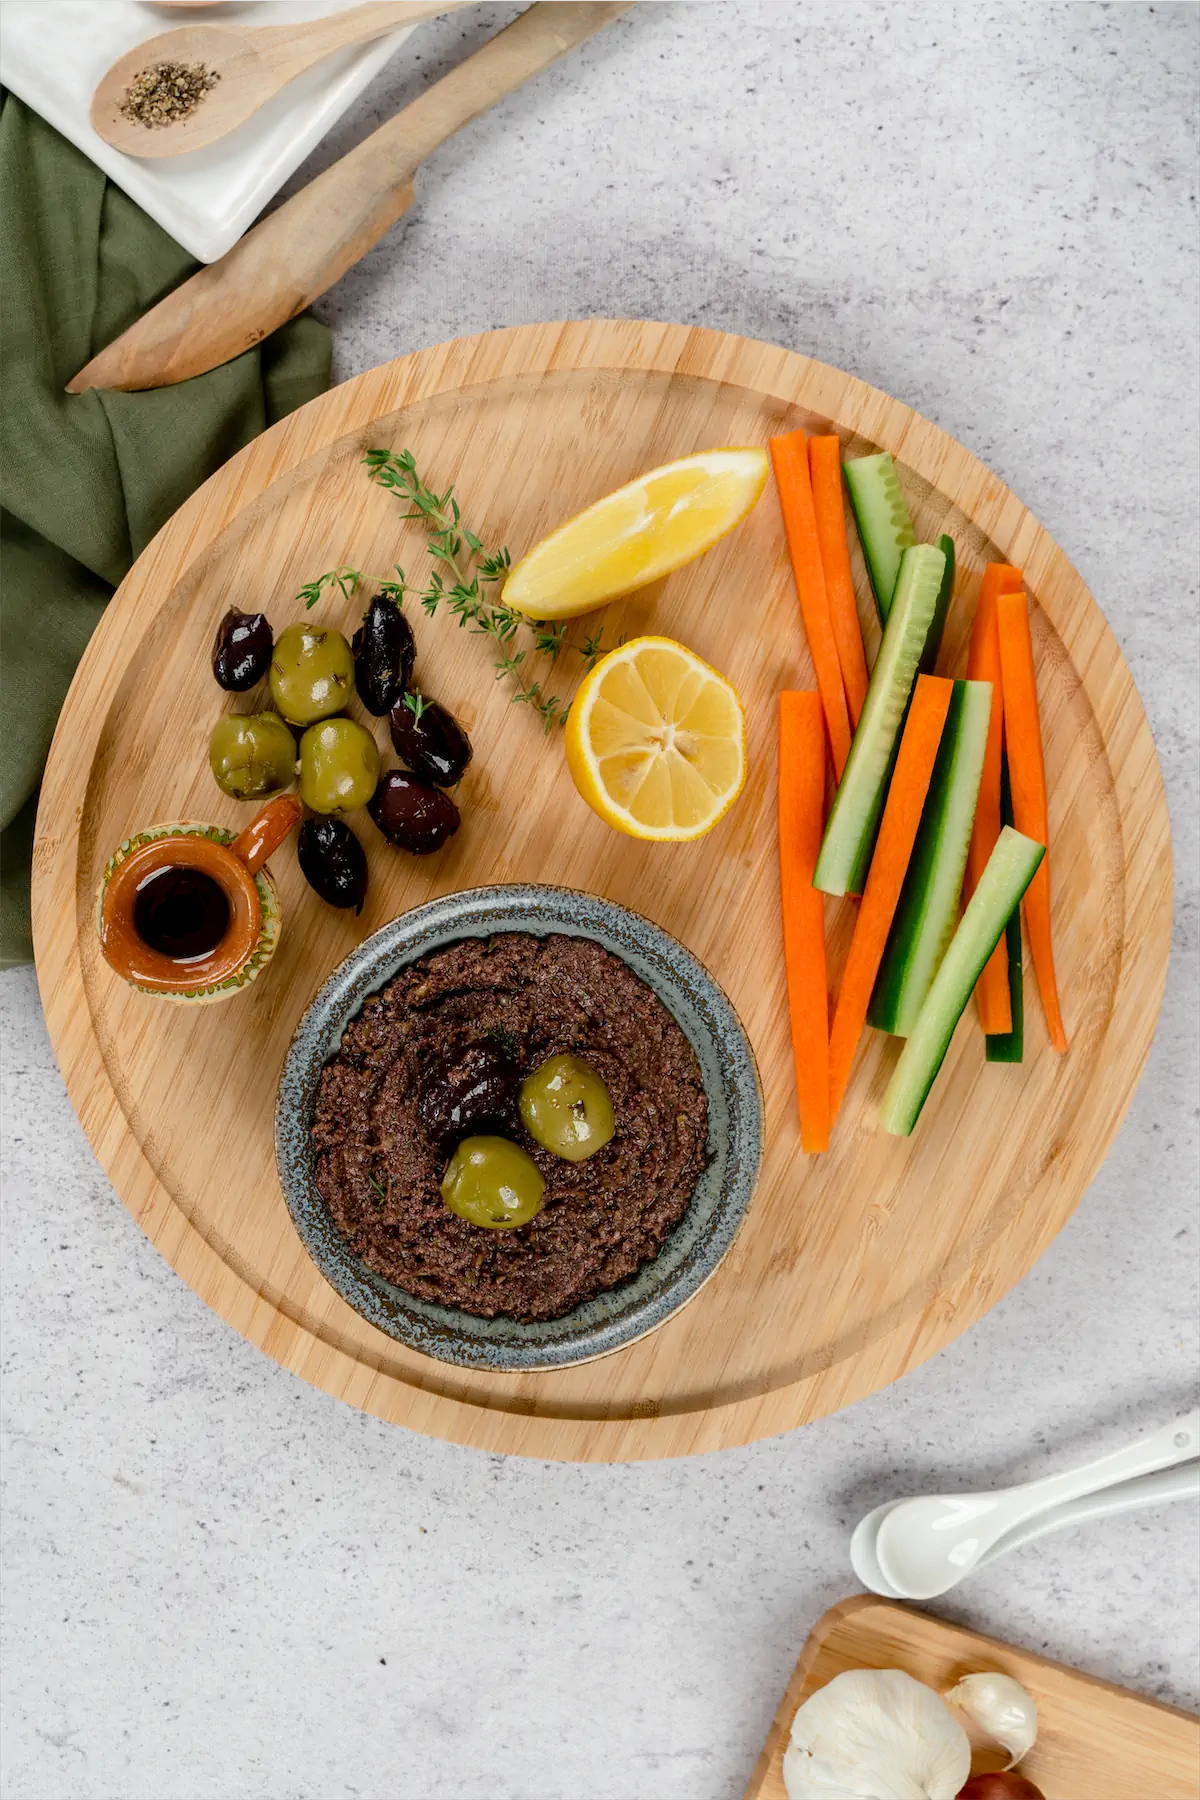
- What to serve with this classic olive tapenade?
- Time-saving tips
- How to make garlic cubes?
- What can I prepare ahead of time?
- Storage instructions
- Recipe wrap-up and conclusion
- Frequently asked questions
- 📖 Recipe
Preparation and cooking overview
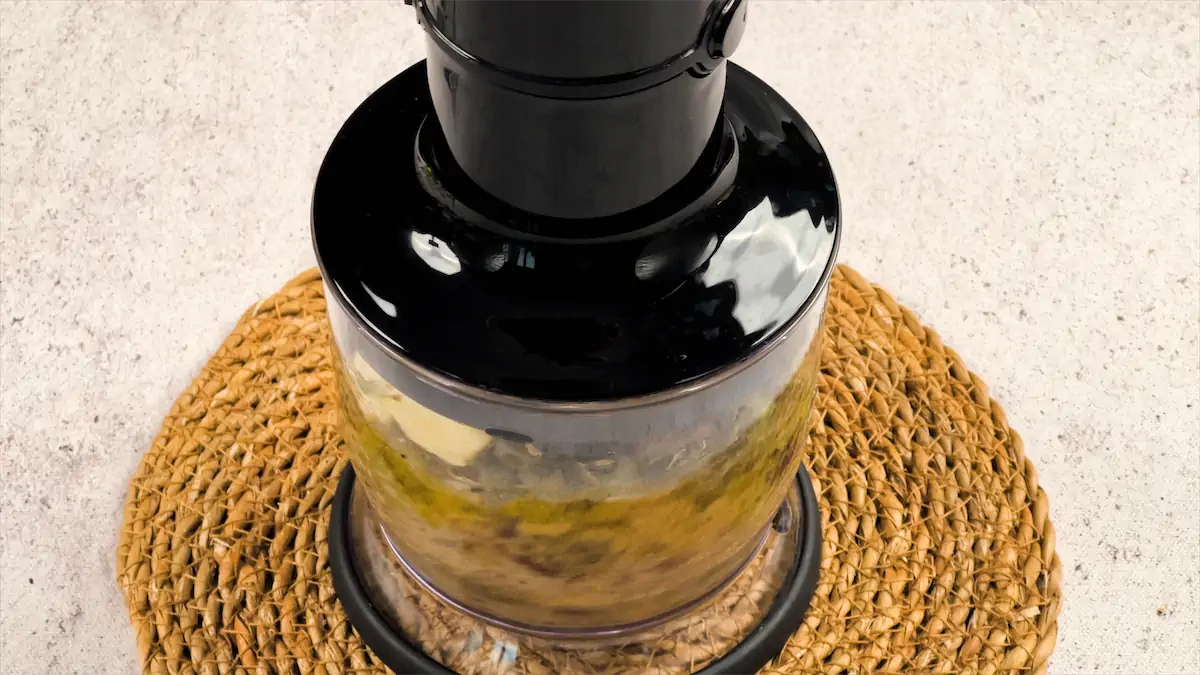
To make this easy spread, put all of your ingredients in the food processor and process till you get a chunky mix. Within just 20 minutes, you'll have a fresh, homemade keto olive spread to enjoy with your favorite cornbread or keto dinner rolls.
Chef's note
This tasty appetizer is low-carb, vegan, and grain free. If you love savory food and tangy olive flavors, this will be your new favorite dip! The fun thing about this recipe is that you can carry it in a small container and enjoy it with your lunch and share it with friends. Found your sub or takeaway boring? Just add your tapenade and enjoy the flavor burst.
For more inspiration check out our Dips recipe.
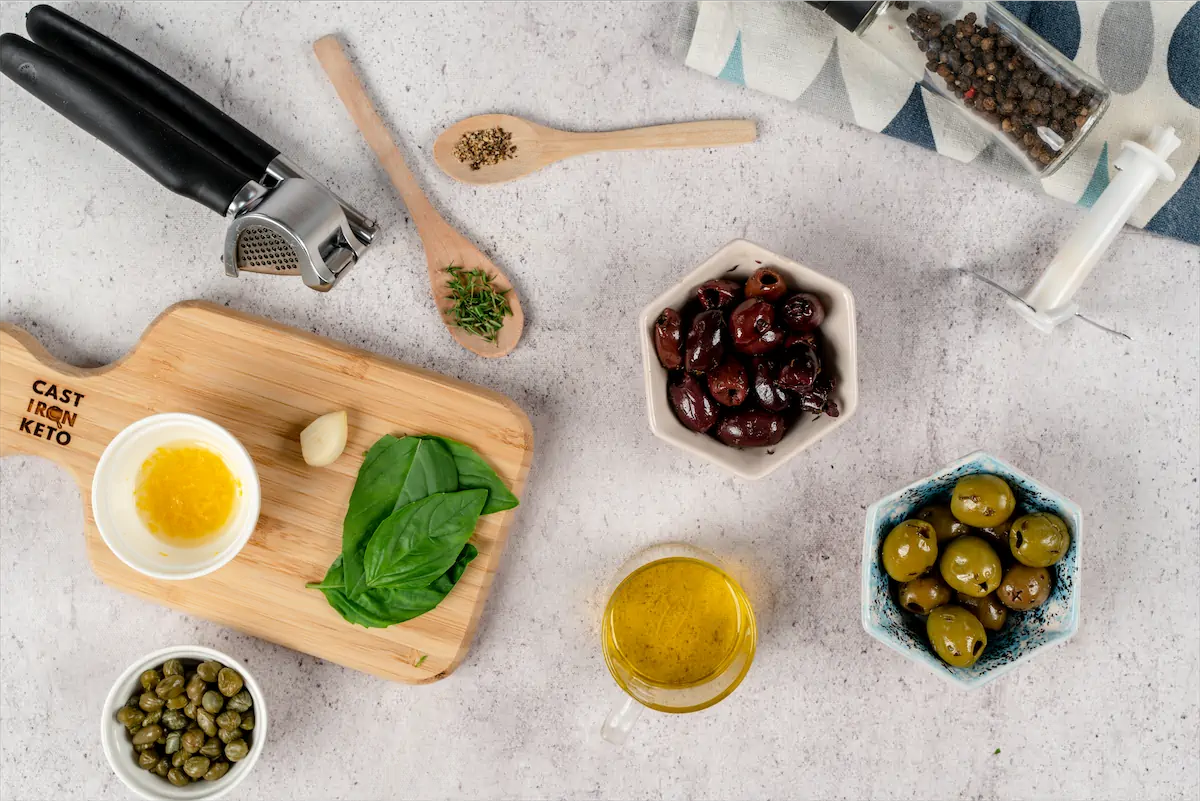
Ingredients for this classic olive tapenade recipe
Ingredient substitutions
Additional ingredients
You can always experiment with additional ingredients or toppings. For example, you can add the following:
Cooking tools required
To make this Keto-friendly Classic Olive Tapenade recipe, you need the following tools:
Tool substitutes list
How to make Classic Olive Tapenade: step-by-step guide
Cooking methods
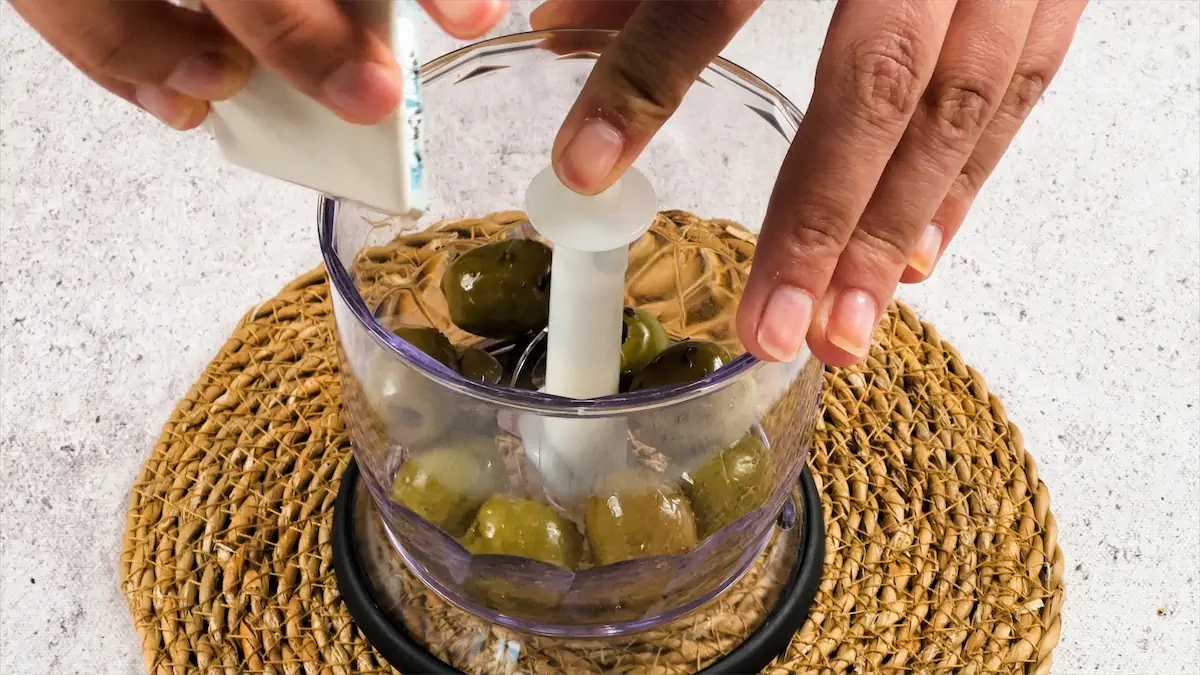
Preparation steps
- Gather all the required ingredients for the recipe.
- Measure the ingredients and prepare for blending.
- Set up your processor or blender.
Cooking instructions
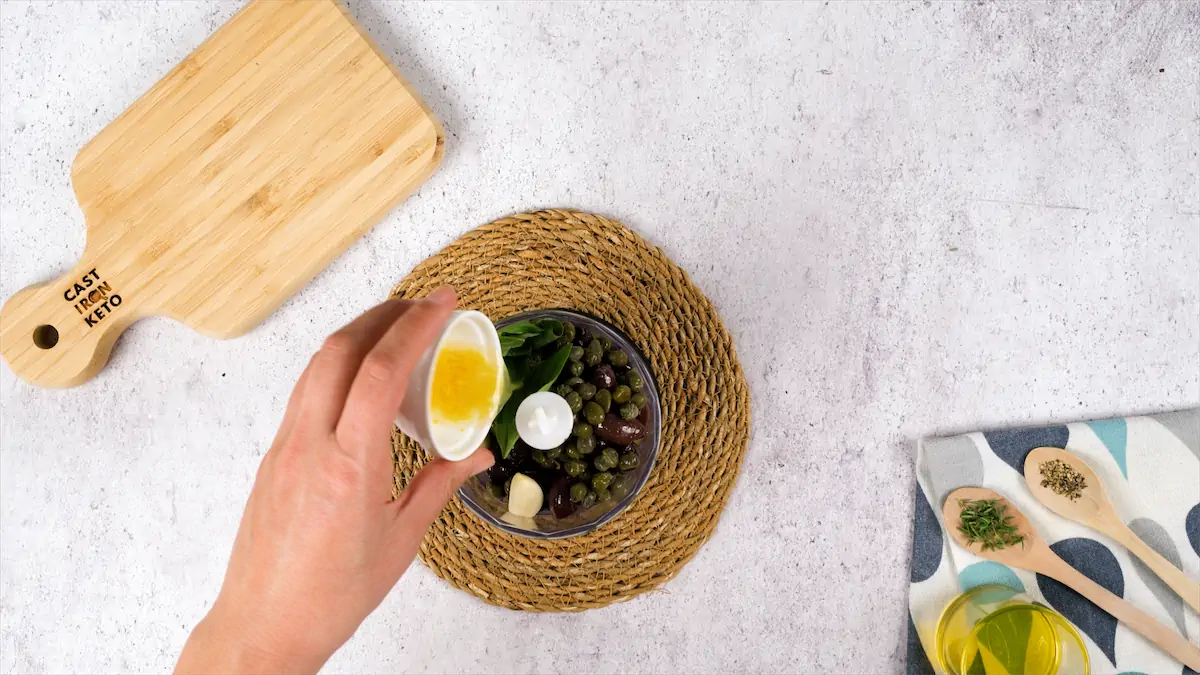
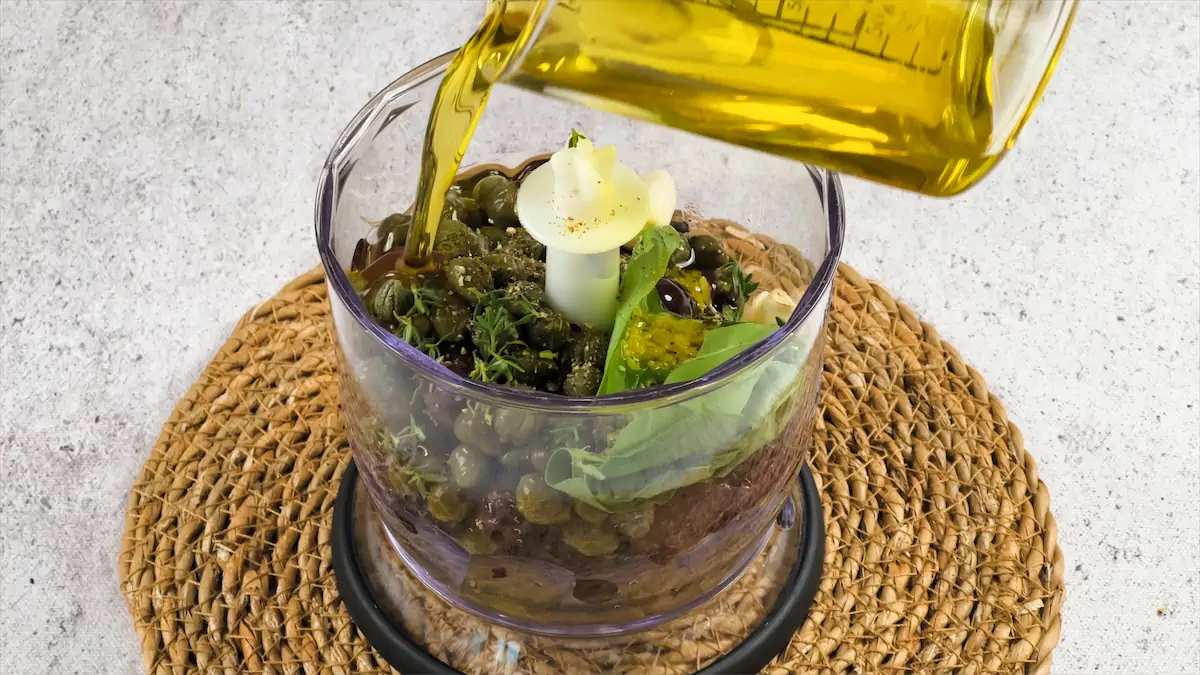
- Combine the green olives, black olives, capers, garlic, thyme, basil leaves, lemon juice, olive oil, and black pepper in a food processor until the mixture is slightly chunky and easy to spread. Be careful not to overprocess.
- Season to taste with additional black pepper and salt if desired.
- Serve immediately or transfer to an airtight container and store in the refrigerator until ready to use.
Chef's pro tip
When whipping up your tapenade, keep an eye on the texture. Don't go overboard and blend it into a smooth puree—aim for a bit of chunkiness that'll add some texture to every bite. Also, be sure to give it a taste test and tweak the flavors as you go. This will help you dodge a too-salty or oily end result. So, gear up to strike that perfect balance of flavor and texture for a homemade tapenade that'll keep everyone coming back for more.
What to serve with this classic olive tapenade?
A dip can only be labeled "best" if you can enjoy it both as a dip and a spread to enjoy with other keto snacks, meat, and salads. Luckily, our Keto-Friendly Classic Olive Tapenade recipe checks all the boxes. You can savor it in so many forms and with so many other dishes. For example:

Time-saving tips
How to make garlic cubes?
Here's the process of making garlic cubes and using them in cooking:
- Peel and mince the garlic cloves: Start by peeling the garlic cloves and mincing them into small pieces. You can use a knife or a garlic press for this step.
- Place the minced garlic in an ice cube tray: Take an ice cube tray and distribute the minced garlic evenly into each compartment. Fill them up to about ¾ full, leaving a bit of space for expansion when freezing.
- Add oil or water (optional): If desired, you can add a small amount of oil (such as olive oil) or water to each garlic cube compartment. This helps to preserve the garlic and prevents it from drying out.
- Freeze the garlic cubes: Place the ice cube tray in the freezer and let the garlic cubes freeze until solid. This usually takes a few hours.
- Transfer the frozen garlic cubes to a freezer bag or container: Wait until the garlic cubes are completely frozen, remove them from the tray, and move to a freezer bag or container. Label it with the date for easy reference.
- Use the garlic cubes in cooking: When you need garlic for a recipe, simply take out the desired number of garlic cubes from the freezer and add them directly to your dish. The frozen garlic cubes will melt and release their flavor while cooking.
Note: Garlic cubes can be used in various recipes, including soups, stews, sauces, stir-fries, and more. Adjust the number of garlic cubes according to your taste preference.
By making and freezing garlic cubes, you can conveniently have minced garlic readily available for your cooking needs, saving time and effort in the kitchen.
What can I prepare ahead of time?
Storage instructions
Transfer your tapenade to an airtight container and store it in the refrigerator for a week. For optimal freshness and flavor, consuming it within the first couple of days is best.
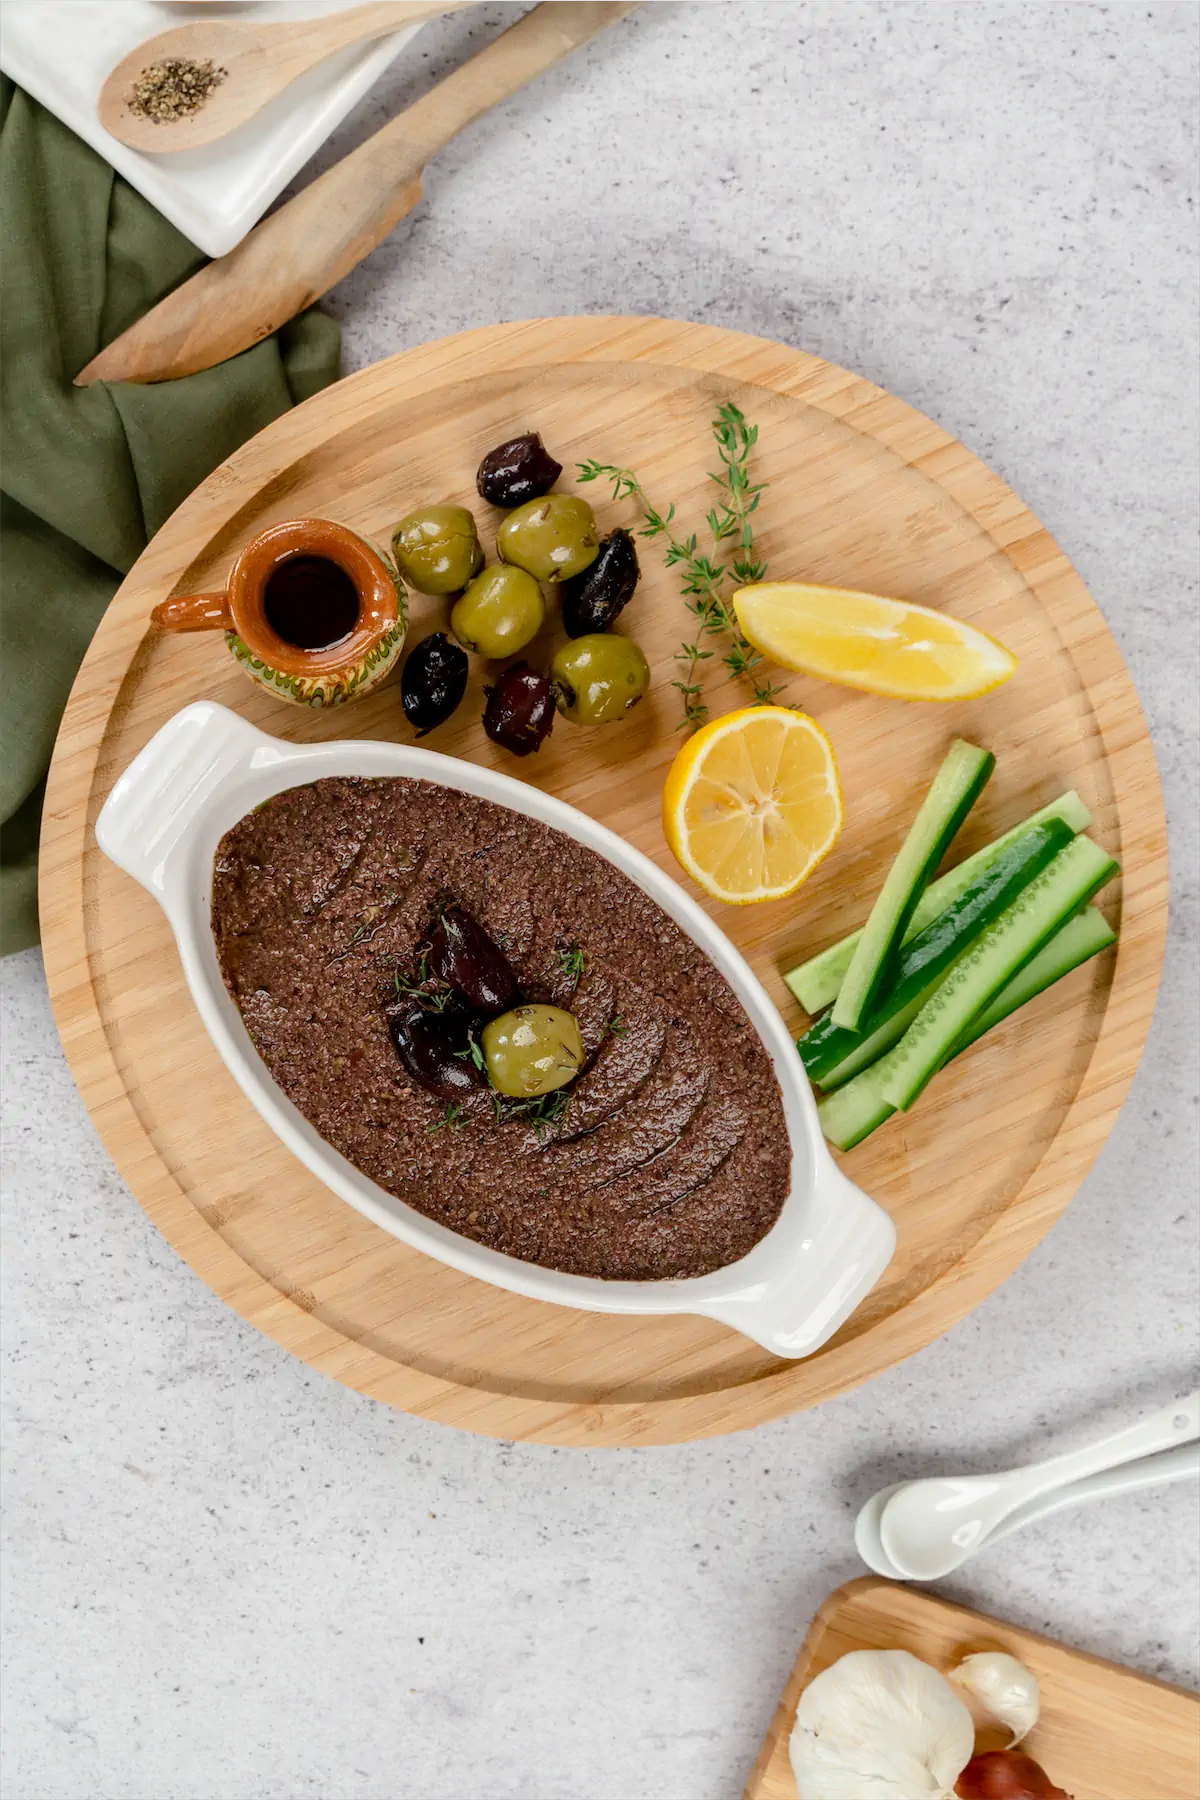
Recipe wrap-up and conclusion
Tapenade—it's a classic French gem that's beloved in Mediterranean and French cuisines. We made this keto version and made sure it's got all that rich, French charm and Mediterranean zing but stays totally low-carb. Think of it as a spread or dip packed with a hearty mix of olives, capers, and aromatic herbs, ready to take your snack game to a whole new level.
So, how about giving it a whirl? We're super pumped for you to try this recipe and fall head over heels just like we did. And hey, don't forget to spread the love—share this nutritious and colorful chunky sauce with your friends and fam and tag us on social!
Frequently asked questions
📖 Recipe
Classic Olive Tapenade
Ingredients
- 3 oz pitted green olives
- 3 oz pitted black olives
- 2 oz capers
- 1 garlic clove
- 1 tablespoon lemon juice freshly squeezed
- Zest of 1 lemon
- 2 ½ tablespoon olive oil
- ¼ teaspoon black pepper
- 4-5 leaves of basil
- 4-5 sprigs of fresh thyme
Instructions
- Combine the green olives, black olives, capers, garlic, oregano, basil leaves, lemon juice, olive oil, and black pepper in a food processor until the mixture is slightly chunky and easy to spread. Be careful not to overprocess.
- Taste it, and add black pepper if you think it needs an additional kick. If you're using unsalted olives, you can add more salt at this stage.
- The tapenade is ready to serve immediately! But you can pour it to the glass jar and keep it in the fridge.
Leave a Reply