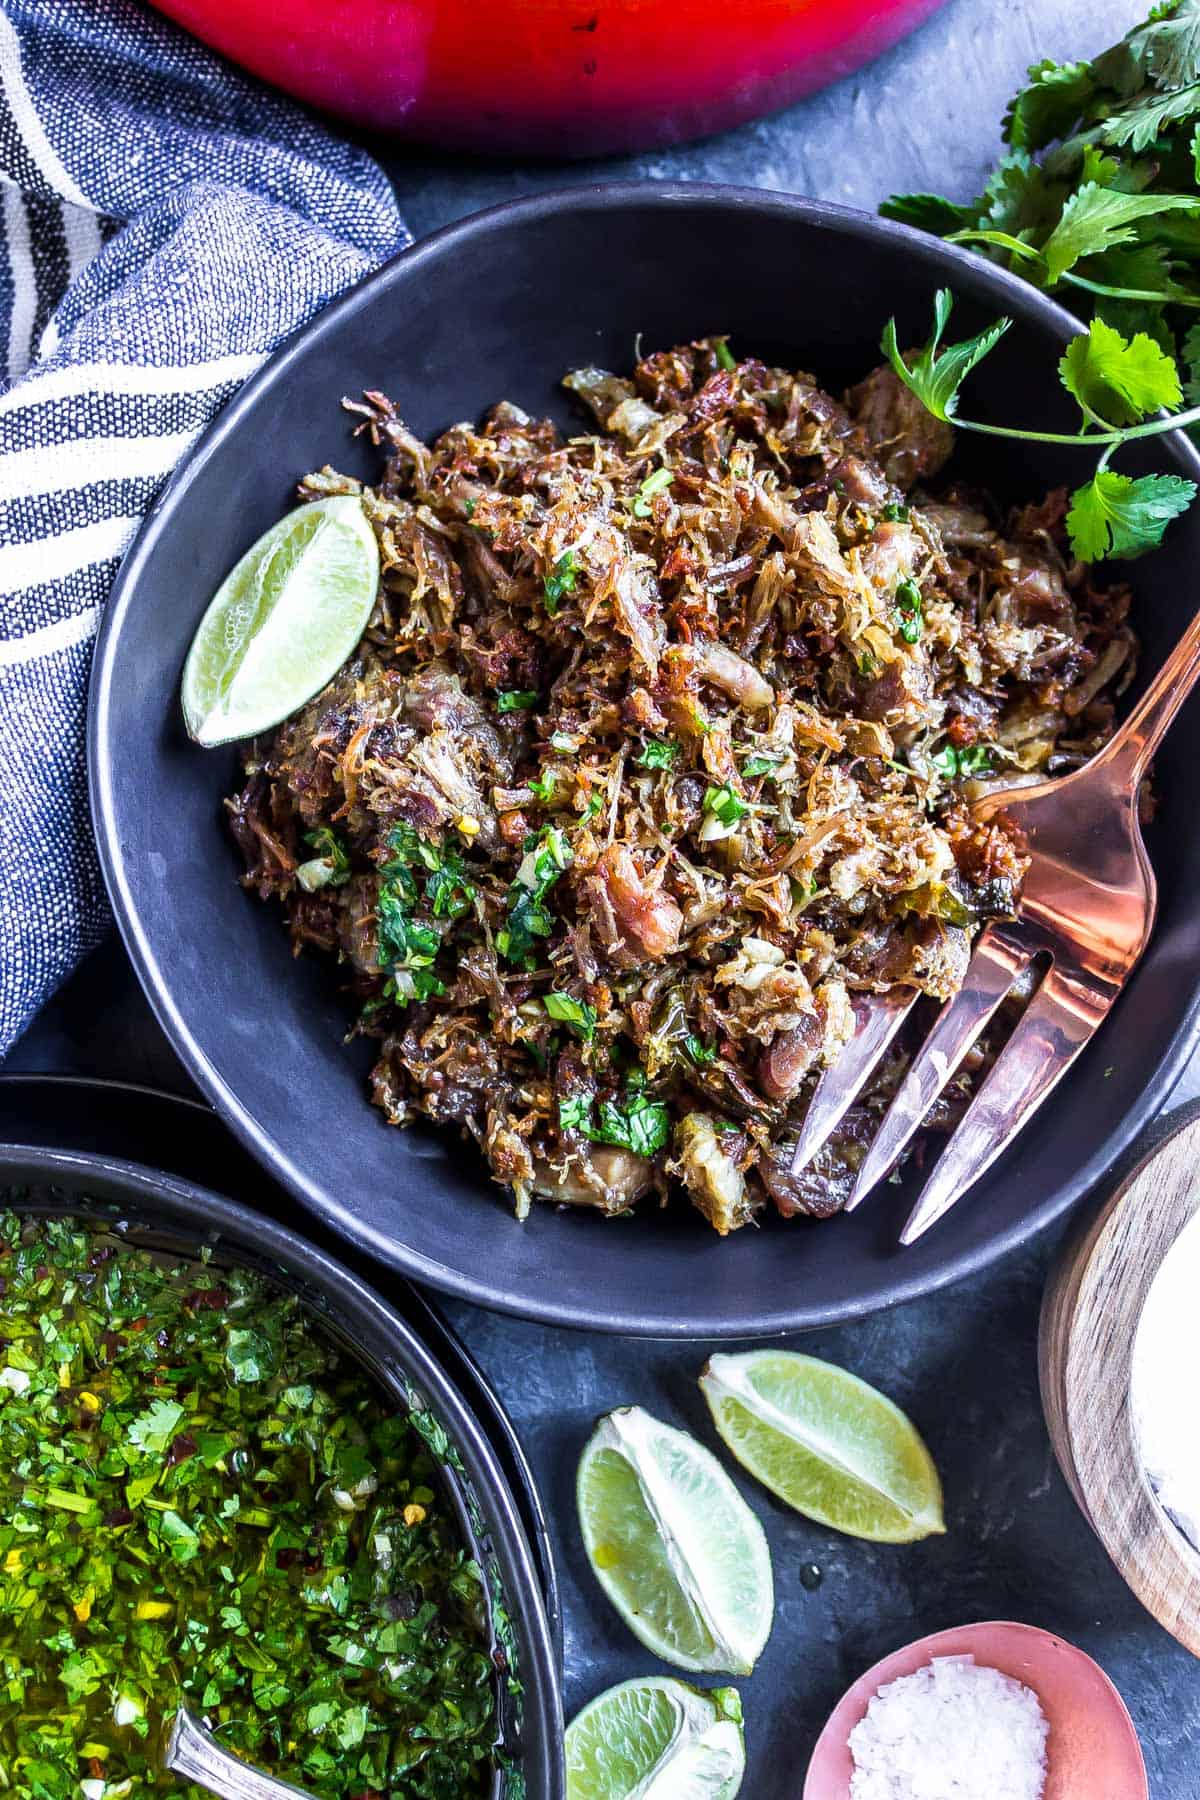
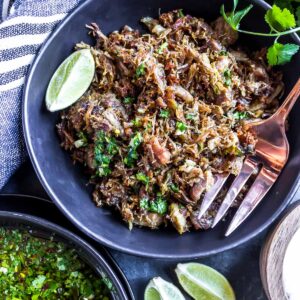
Get ready to embark on a flavor-packed journey with our Authentic Carnitas Recipe. The tender shreds of pork, bursting with savory goodness, will soon become your new favorite.
Jump to:
- Preparation and cooking overview
- Chef's note
- 🥘 Ingredients for this authentic carnitas recipe
- Ingredient substitutions
- Additional ingredients
- Cooking tools required
- Tools substitute options
- How to make Authentic Carnitas Recipe: step-by-step guide
- Cooking methods
- Preparation steps
- Cooking instructions
- What to serve with low-carb pork carnitas?
- How to make it healthier
- Time-saving tips
- What can I prepare ahead of time?
- Storage and reheating instructions
- Recipe wrap-up and conclusion
- Frequently asked questions
- 📖 Recipe
Preparation and cooking overview
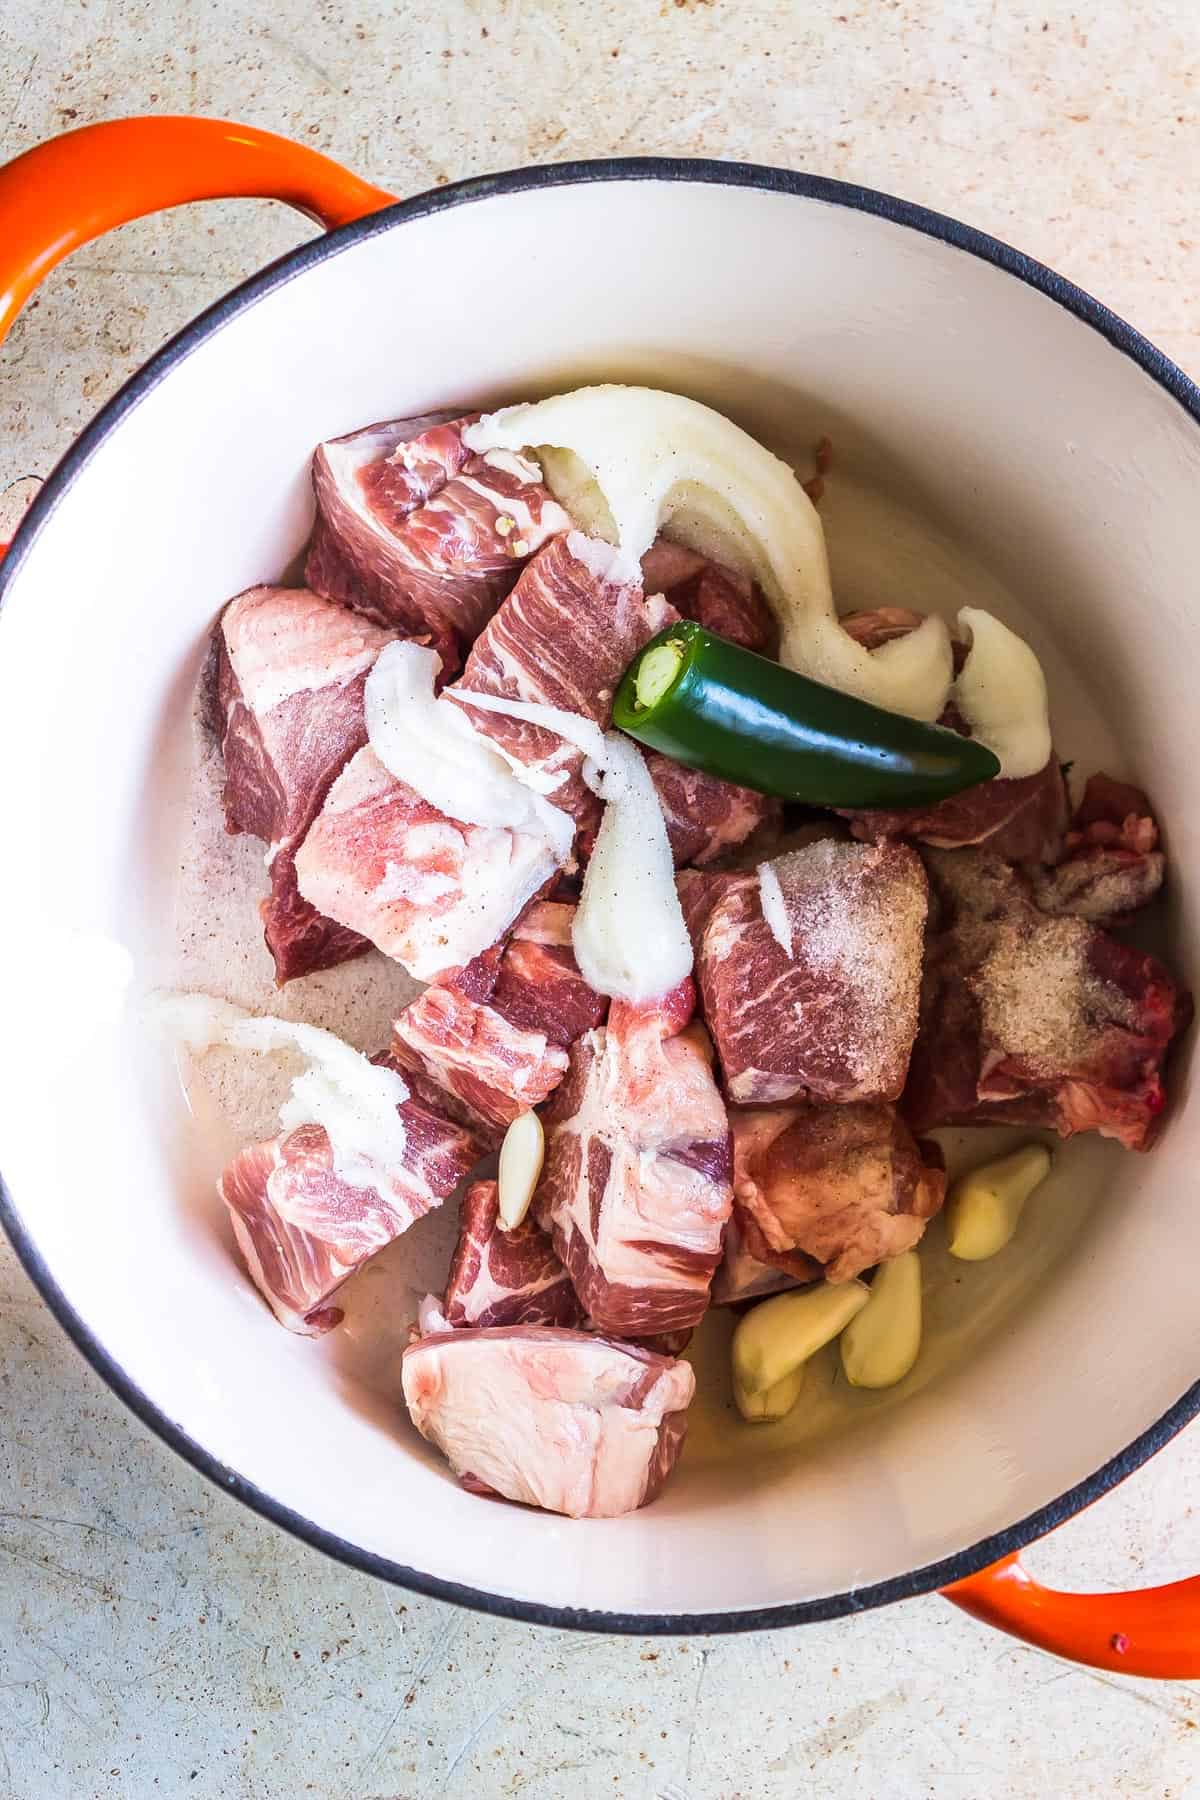
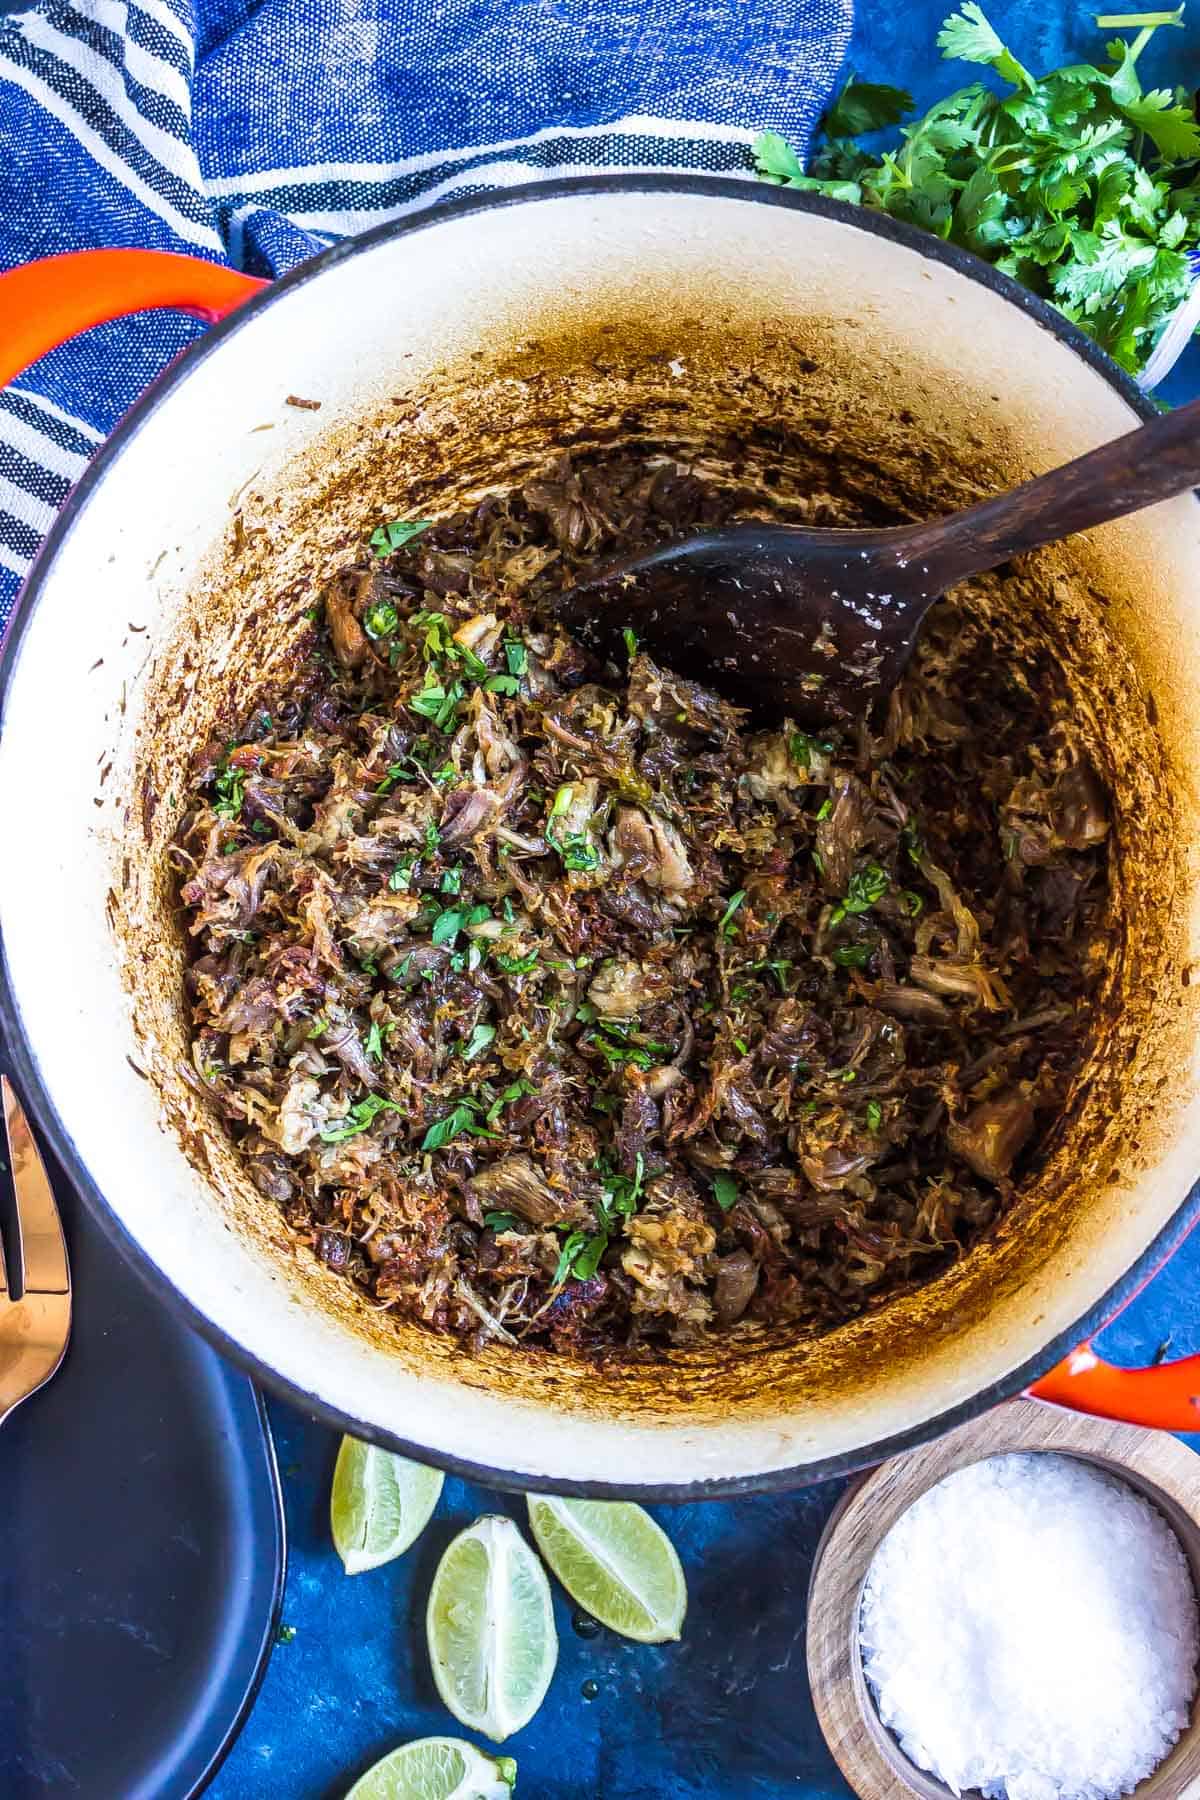
Don't fret because this recipe for keto pork carnitas is easy to follow! Place fatty pork shoulder, lard, garlic, jalapeno, salt, and water in a large cast-iron Dutch oven. Let it boil, then simmer for around 45 minutes until the pork turns incredibly tender. Let the meat fry in its fat until it is brown and crispy, then season with salt and serve! You'll have mouthwatering crispy pork carnitas ready to be served in an hour.
Chef's note
Feel free to customize this keto carnitas recipe to suit your taste buds. Adjust the spiciness by putting milder or hotter peppers, and add herbs or spices of your choice. You can enjoy it in various ways - wrap the pork carnitas in lettuce leaves for a refreshing, low-carb taco experience or use it as a filling in Low Carb Stuffed Peppers. Serve it alongside a crisp, colorful salad for a light and satisfying meal.
For more inspiration check out our Pork recipe.
🥘 Ingredients for this authentic carnitas recipe
Ingredient substitutions
Additional ingredients
Want to take this recipe to a whole new level of deliciousness? Add these flavorful ingredients:
Cooking tools required
To make this authentic carnitas recipe, you will need the following tools:
Tools substitute options
How to make Authentic Carnitas Recipe: step-by-step guide
Cooking methods
Preparation steps
- Gather and measure all the required ingredients.
- Wash the garlic cloves and jalapeno.
- Cut the pork shoulder into chunks.
Cooking instructions
- Place all of the ingredients in a large cast-iron Dutch oven. Bring to a boil over high heat. Reduce to simmer, cover, and cook for about 45 minutes until the pork is tender.
- Remove the lid and turn the heat to medium-high to reduce the liquid. Once the liquid is reduced, the meat will start to fry in its fat.
- Brown the meat over medium-low heat, stirring frequently and breaking the pork apart with the back of the spoon or spatula until the pork is evenly browned and crispy; this takes about 15 minutes. Taste for salt and serve.
Chef's pro tip
The most common mistake while making this Dutch oven carnitas recipe is rushing the browning and frying step. Avoid turning up the heat too high or trying to speed up the process. Slowly and evenly brown the pork over medium-low heat, taking the full 15 minutes. This will ensure that every delicious morsel is crispy and flavorful.
What to serve with low-carb pork carnitas?
Pork carnitas is a versatile keto meal that effortlessly complements various foods. The following foods pair well with this recipe:
How to make it healthier
If you're looking to make a few tweaks to enhance its nutritional profile further, here are a couple of suggestions:
Time-saving tips

What can I prepare ahead of time?
Storage and reheating instructions
Storage tips
Reheating best practices
Recipe wrap-up and conclusion
Tender, crispy, and bursting with flavors, these mouthwatering Authentic Carnitas Recipe are the ultimate crowd-pleaser for any keto-friendly feast. So, grab your forks, gather your friends, and dive into a plateful of pure delight.
It's time to unleash your culinary skills and embark on this delectable adventure. Happy cooking!
Frequently asked questions
📖 Recipe
Authentic Carnitas Recipe
Ingredients
- 2 lbs fatty pork shoulder
- ¼ cup lard
- Enough water to cover
- 1 tablespoon salt
- 4 cloves garlic
- 1-2 jalapeno or poblano or anaheim pepper
Instructions
- Place all of the ingredients in a large cast-iron dutch oven. Bring to a boil over high heat. Reduce to simmer, cover and cook for about 45 minutes until pork is tender.
- Remove the lid and turn the heat to medium-high to reduce the liquid. Once the liquid is reduced the meat will start to fry in its fat.
- Brown the meat over medium-low heat stirring frequently and breaking the pork apart with the back of the spoon or spatula until pork is evenly browned and crispy, this takes about 15 minutes. Taste for salt and serve.
Kathy says
Can you use an instant pot?
How long would you cook it. Thanks Kathy
Alex Lester says
You can but we haven't tested our recipe that way. We've made other carnitas recipes in the IP but they never come out tender and crispy like using a dutch oven does.
Rick says
Alex, when do you shred the shoulder or does this happen naturally during the cook time?
Alex Lester says
Hi Rick, it sort of happens naturally. I usually just mash it up when it's frying in its fat with the back of a spoon. I've added this step to the recipe card, thanks for the question!
Kp says
Can I substitute for the lard?
Alex Lester says
You could use algae oil or avocado oil but the lard really does work best here.
Danielle says
I am a pretty good cook... not sure what I did wrong. I followed the directions exactly and my pork shoulder is so overcooked, you can't even cut into it.
Joe says
I wish I had more context to know what might have gone wrong, but here are a couple of thoughts:
The main recipe "card" here mentions putting the 2 lbs of pork into the dutch oven, but doesn't specifically note what's mentioned in the article, which is that the pork needs to be cut into smaller pieces in advance.
With chunks, about 1.5-2" in every direction, when you've reduced the water, you'll still have a boatload of fat in there for it to crisp in. It's during this time it needs to start being broken apart (back of spoon/spatula or a couple of forks pulling it apart a bit). It will be finished cooking and crisping long before the fat is gone. I like mine quite crispy and still had a half cup of fat/grease to save for cooking.
This is a bomb recipe. May take a couple of tries, but it's well worth it. Hope you give it another shot.
Summer says
What is the gorgeous green sauce in the lower left of the main pic?
Cast Iron Keto says
That would be our Keto Chimichurri !
Lachael Gomez says
Great, came out perfectly!